My fellow-7-owner had been looking over the engine in a moment of dry calm on an otherwise wet Driver Education Day at Blackhawk Farms. His sharp eye had found what I hoped was just a vibration-assisted backed-off bolt. But a few twists made it clear that the threads were simply not catching, and the bolt was free in its passage through a margin of the water pump (which was not leaking any vital fluids... a degree of relief to be savored).
With the aid of my mates, the water pump pulley was soon detached, and the offending bolt almost fell into my hand... sheared just into the threads! That meant that the majority of the threads were still lodged firmly in the block!

On-site efforts to tease some counter-clockwise rotation out of the offending shard proved fruitless, though the assembled Lotus Corps minds felt it was worth a try. Theoretically, there must be a ridge where the fracture had occurred, and it might be caught to induce some torque. But not today!
Despite the absence of any leakage around the water pump, efforts focused on replacing the bolt shaft, as it was apparent that it was essential! Not to keep the water pump in place, but to continue to provide the mandatory tension to the Alternator belt. The Alternator Stay originates on this bolt, and without it, no electrics! The resultant tension must have been the force that caused the fracture in the first place, as the Alternator Stay contacts this bolt near its head, some 3cm off the block where the security of thread-on-thread contact ends. The combined forces of this tension and the vibrations of the four-cylinder Cross-flow Ford engine on a 16 lb-ft torqued bolt over time must have conspired to break the steel shaft through the unopposed threads some time in the last 6,000 miles since the engine rebuild!
Perhaps the genius that is FORD had failed this particular bolt, but the water-pump pulley brilliantly kept even this fractured bolt from backing ALL the way out, as the head of the bolt came into contact with the back side of the pulley if it backed out a centimeter, keeping the shaft safely within the bore of the water pump passage, and thus able to continue to hold the Alternator Stay in its assigned position. Clearly, it had explored this freedom, as the pulley surface was smoothly polished of paint, and that of the head of the bolt also sanded smooth by their mutual contact from time to time! The assembled Corps minds, however, believed that this movement should be minimized, so a few zip ties around a motor mount soon constrained the bolt nearer its home burrow!
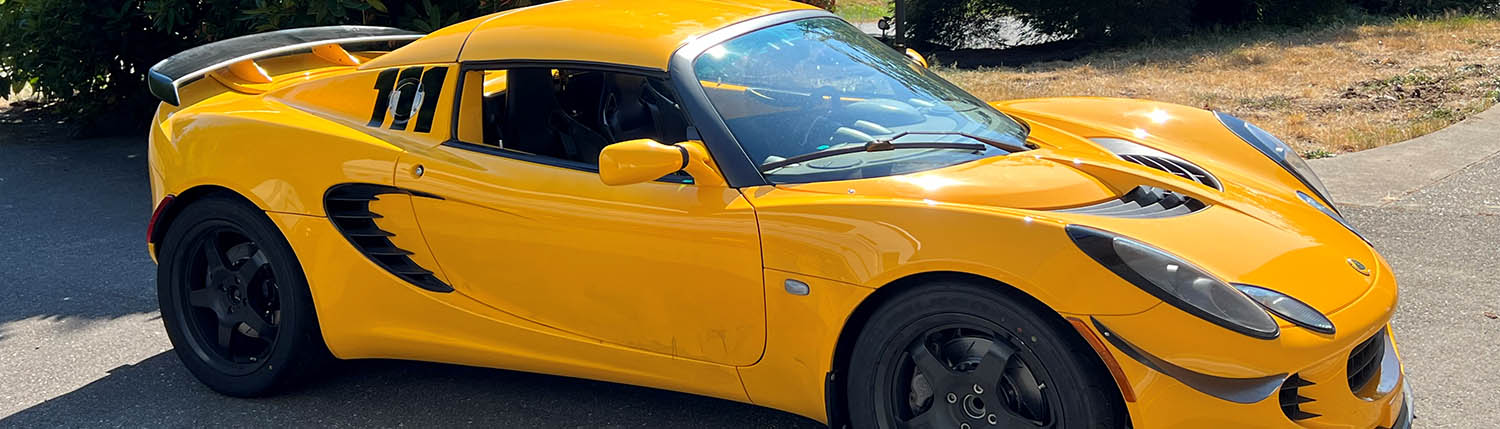
A few laps at speed revealed that the bolt remained in position, if not tight, and provided the Alternator Stay adequate tension to provide charge while in motion, and that the water pump continued to remain sealed to the block without any leakage. Safe enough to drive home to Willowbrook!
Removal of a seized bolt, if you work on machinery for any time at all, will be a puzzle you be required to solve, so it’s worth talking through the available methods. At its bravest, perhaps, the approach may involve welding or brazing a shaft onto the offending threaded core. This will allow the welded shaft to transmit torque to the core and simply back it out. But ONLY if the seizure that caused the issue is resolved, or one is likely to simply fracture the weld. Fortunately for practitioners of this art, the heat of welding may cause differential expansion between the seized threads and those of the host material, in this case the engine block, allowing simple extraction once this differential expansion has loosened the offending material. Some wags suggest that the heat and current of Arc Welding expose the lodged threads to welding themselves, so discretion may suggest limiting this method to other technology than that of direct current across the defect!
An extension of this technology resulting in differential heating is often worth trying independent of welding, as loosening the corrosion or threadlocking material is essential to extraction in most cases. Use of a torch flame is often attempted, though it is difficult to heat ONLY the seized core, or the encasing host material, and NOT surrounding material. And it IS this DIFFERENTIAL heating that seems to be the magic that destroys the offending fusion keeping the part from threading out in the first place. Oh, and don’t forget that overflow flame and heat can easily damage nearby plastic or soft metal parts! This problem is solved by an innovative science called Induction Heating. A company called Induction Innovations (www.theinductor.com) makes a brand of products called Mini-Ductor for the automotive repair industry which can create this differential heating at much lower overall temperatures than a torch can accomplish, making it ideal for sensitive areas, and perhaps to the really tough extractions you may encounter. Look it up as a fascinating read sometime, even if you may not choose to afford the product itself.

In my case, I decided to try the direct, and simple, method of trying to drill a hole in the center of the offending shaft, and then apply a reverse-threaded tool referred to as an E-Z Out to the resulting hole to back out the offending material. This is often spoken of as a most hopeful solution to the problem. What is seldom spoken of in these optimistic conversations is that the E-Z Out is made of a very hard material, and if forced, frequently breaks off within the hole in the seized core, plugging further access and terminating the attempt! I’ve done it, and the seized threads, now with a high tensile strength core, remain firmly and persistently in place!
A small detail may be warranted at this point in the considerations, and proved of great help in my case. Simply drilling a hole in the center of the offending shaft can actually WORSEN or alleviate the problem, depending on the torque applied in this operation. As the usual drill bits generate the same clock-wise stress that may be presumed to have impacted the seizure in the first place in many cases, trying something different may be warranted. The use of OPPOSITE rotation in the drilling process makes sense here. If you can get at the BACKSIDE of the offending shaft, using your usual bits will do this handsomely. But most of these parts are dead-ended or are otherwise unavailable to access behind the bolt shard. But there ARE REVERSE or LEFT-hand drill bits. You may have to ask for them, though I found a set at Harbor Freight for about $12, and with a reversing drill, be able to create the required hole, AND provide counterclockwise torque, which may prove most helpful.

As an aside, it is important to start your rescue hole in, or very near, the CENTER of the part. Get and use a sharp Center Punch to start your drilling operation. If you strike it firmly, you may imagine that you are also shattering the corrosion or thread-locker that is holding the threads tight in the first place, as well!
I had hopes of accomplishing this without removing the water-pump, but decided it was wise to just remove it completely to allow direct access to the broken bolt. This allowed a well-centered punch to be applied without the guesswork trying to do so through the 3cm, blind aperture provided by the water pump housing. Of course, it means dealing with most of the antifreeze volume, and having to clean up the gasket surfaces and cutting a new gasket for eventual replacement of the water pump, but if it’s worth doing, it may be worth doing it correctly!
Having drained enough of the coolant to allow a dry approach, I produced a fine, centerpunched start, and began my process of drilling. Imagine my delight (though I thought I was hallucinating for a few moments!) when I THOUGHT I saw the shard rotate slightly!! Using a low drill speed, I noticed that this was actually the case. I continued this fascinating process for a few moments, until I observed that there was now enough thread revealed to allow the application of a needle-nosed pliers to the exposed shard, and continue the needed counterclockwise rotation directly. IT WORKED!! Soon, I had a 5/8 inch length of bolt-thread in my hand, and a newly restored, threaded cavity in the block surface!
I replaced the damaged bolt with a newly purchased Grade 8 unit, in hopes I could avoid a similar fate with the design given in this Ford set-up. I cleaned those threads in the block with a few passes of the new bolt until I was certain it too would not seize in place. (I added copper anti-seize on final assembly for good measure!) A new gasket, cut and glued in place with 3M material, should assure return to drip-free water -pump function for the foreseeable future. I then simply re-torqued the bolt pattern to spec, thanks to the folks at Pegasus who included this data in their catalog on the Ford Cross-flow page (it’s a great resource for an engine that remains plentiful and apparently in wide-spread use, lo these many years!), refilled the coolant capacity and reset the proper Alternator Belt tension.

Epilogue:
The newly replaced Alternator Stay Bolt, and its securely attached Water Pump, remain in their appointed places, even with another 2,000 miles since this little repair. The Great Minnesota Lotus Corps Tour was great, and without any mechanical detraction this time around, for me and the little Westfield Sei, including its sturdy Cross-Flow Ford! Many miles of smiles seem likely with the aid of a little ingenuity and properly applied technology. I hope your project has equal fortunes if you, too, run into a broken bolt in due course!
